Connecting your Meraki at Home

When connecting your Meraki at home you will need to follow the steps below.  Due to the varying amount of home equipment that our employees may have, you may notice differences from the pictures to what you have at home.  If you need assistance with your connection, contact the Service Desk at 1-800-315-3020.


Due to Baptist Health security protocols and policies, your Meraki has been configured to only allow Baptist Health issued equipment to successfully connect.  Therefore, it is very important that you follow the instructions below and connect the devices in the proper order.   Only Cable, Fiber or DSL internet service is allowed. The internet connection must be 30 Mbps Up / 4 Mbps Down. Wireless range extenders are not allowed. 

Each Picture may be clicked to view an enlarged version

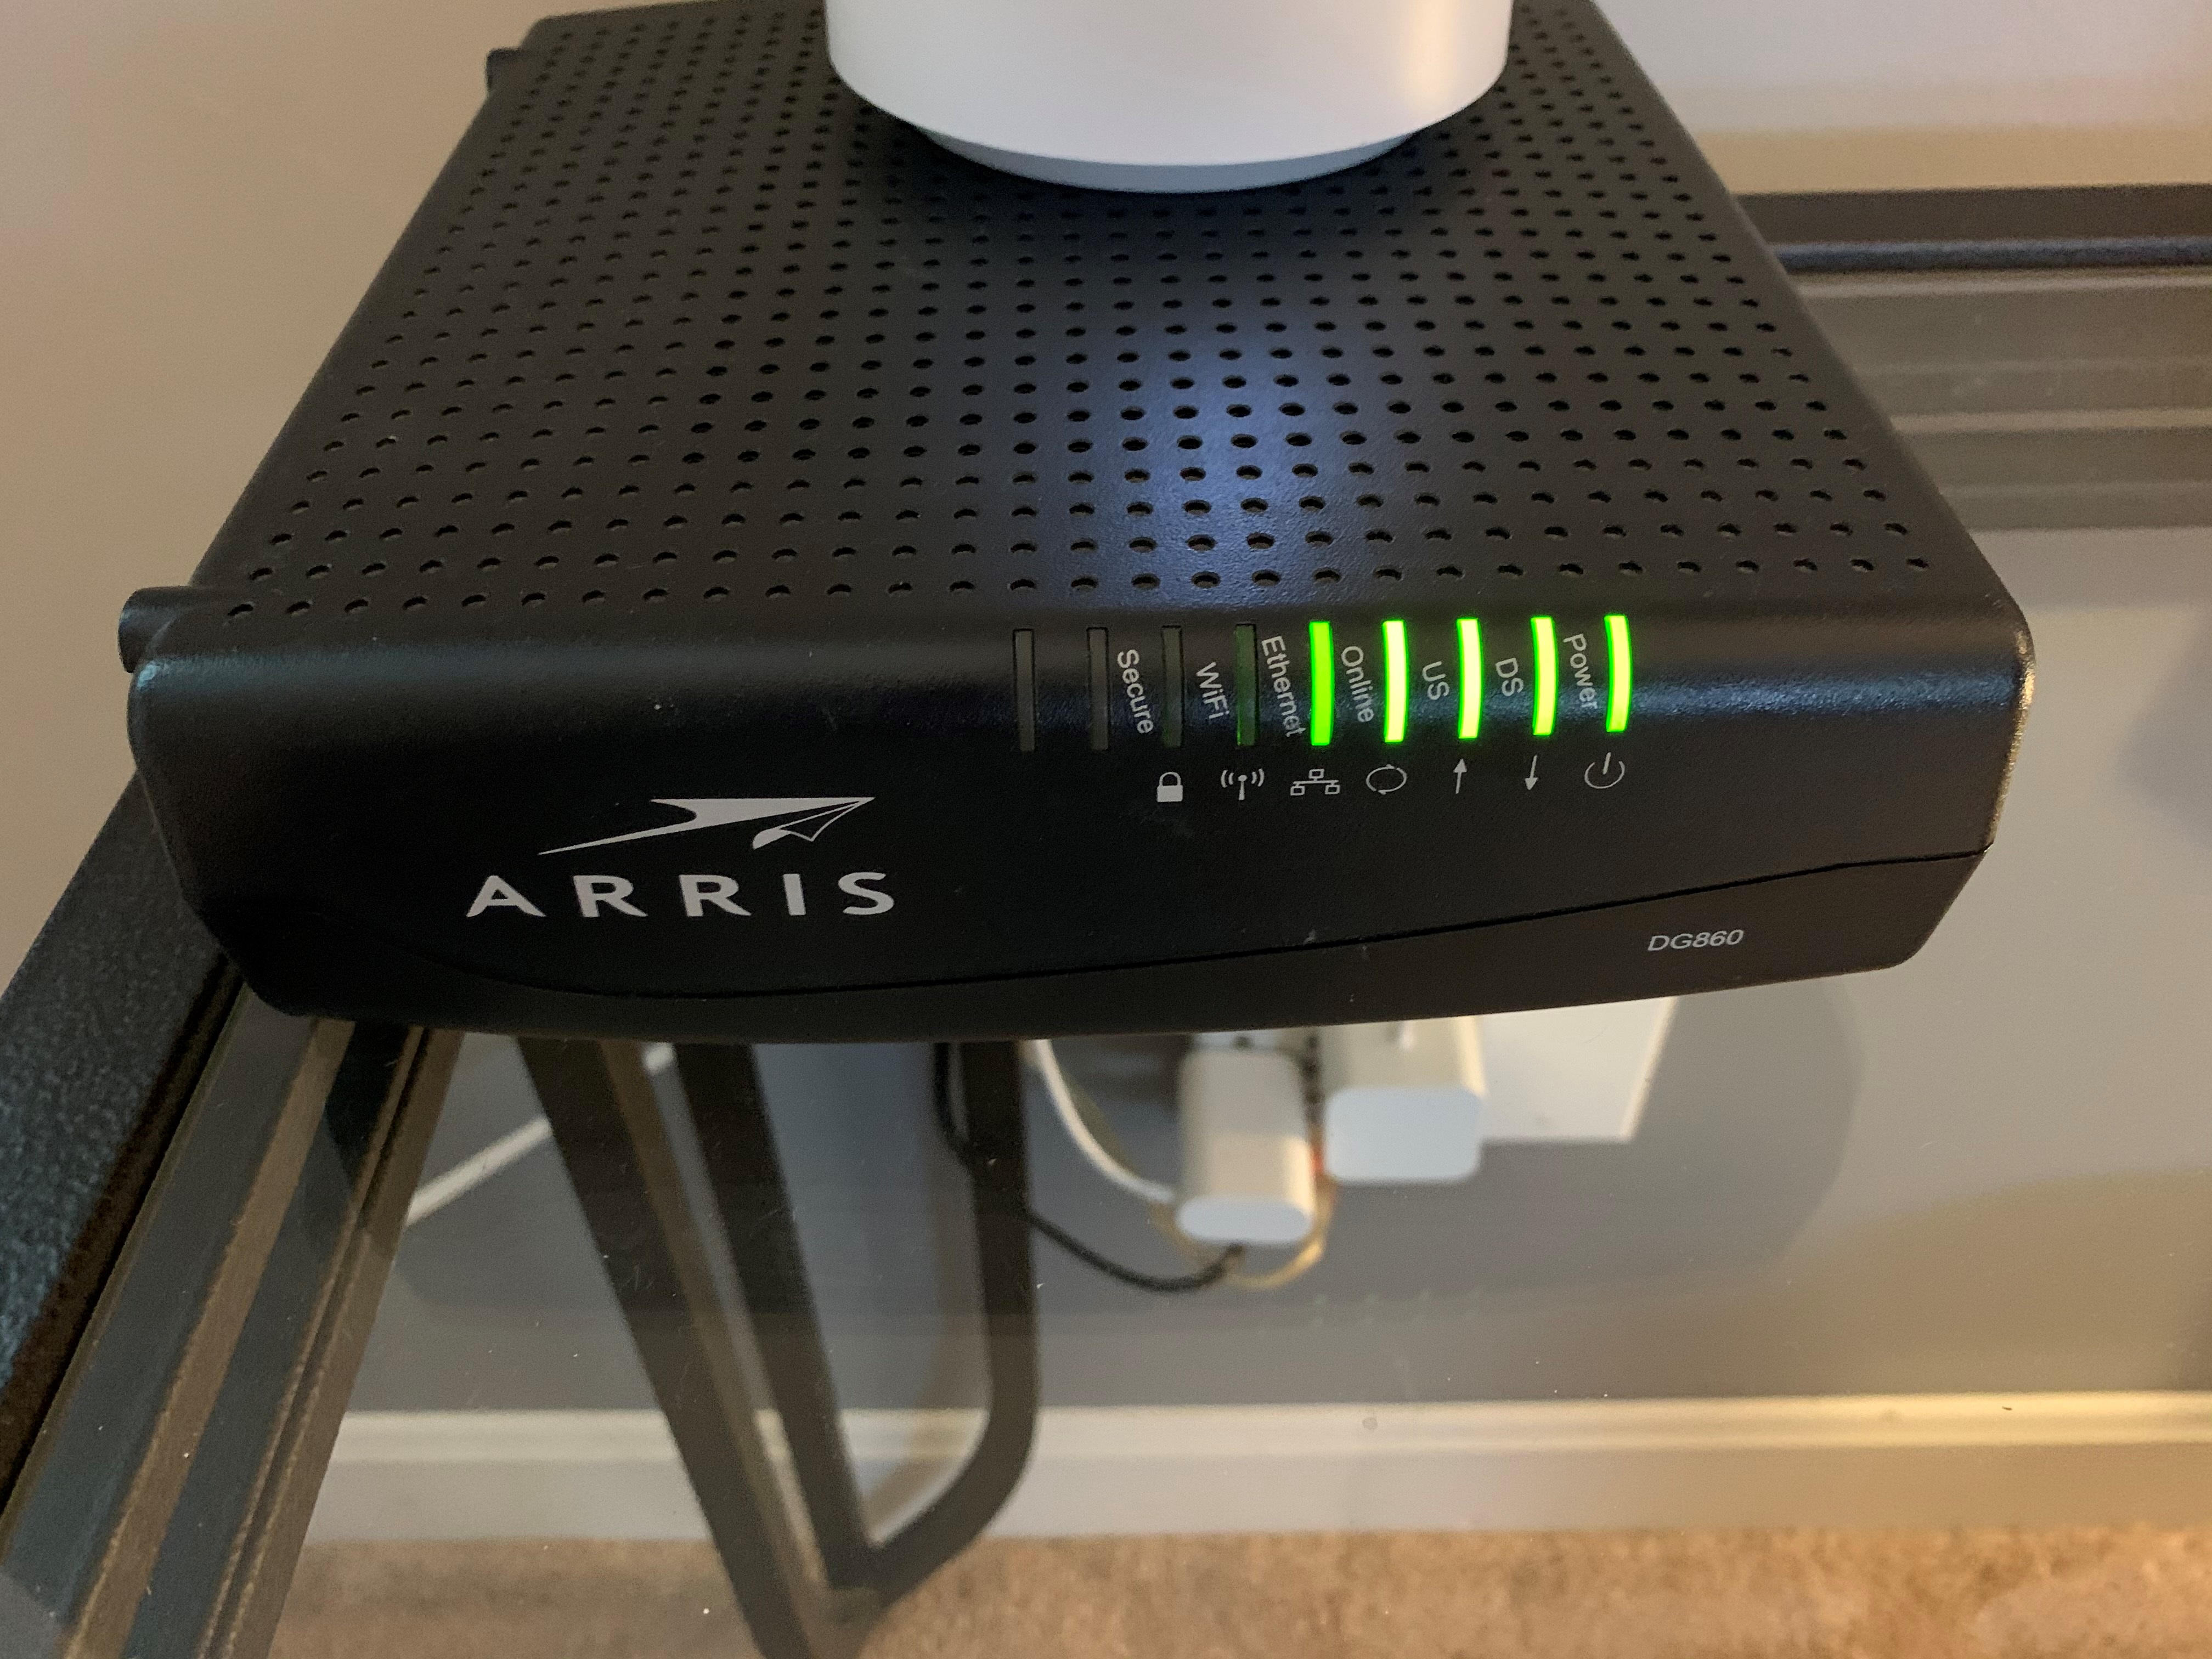
Cable/DSL/Fiber Modem

The first step in the connection process is to find your cable or fiber modem and router. If you use Spectrum or AT&T, you may have an ARRIS, Motorola, Netgear, or TP-Link modem.  The modem should have several lights on it, such as US (Upstream), DS (Downstream), Online, Ethernet, or Broadband lights.

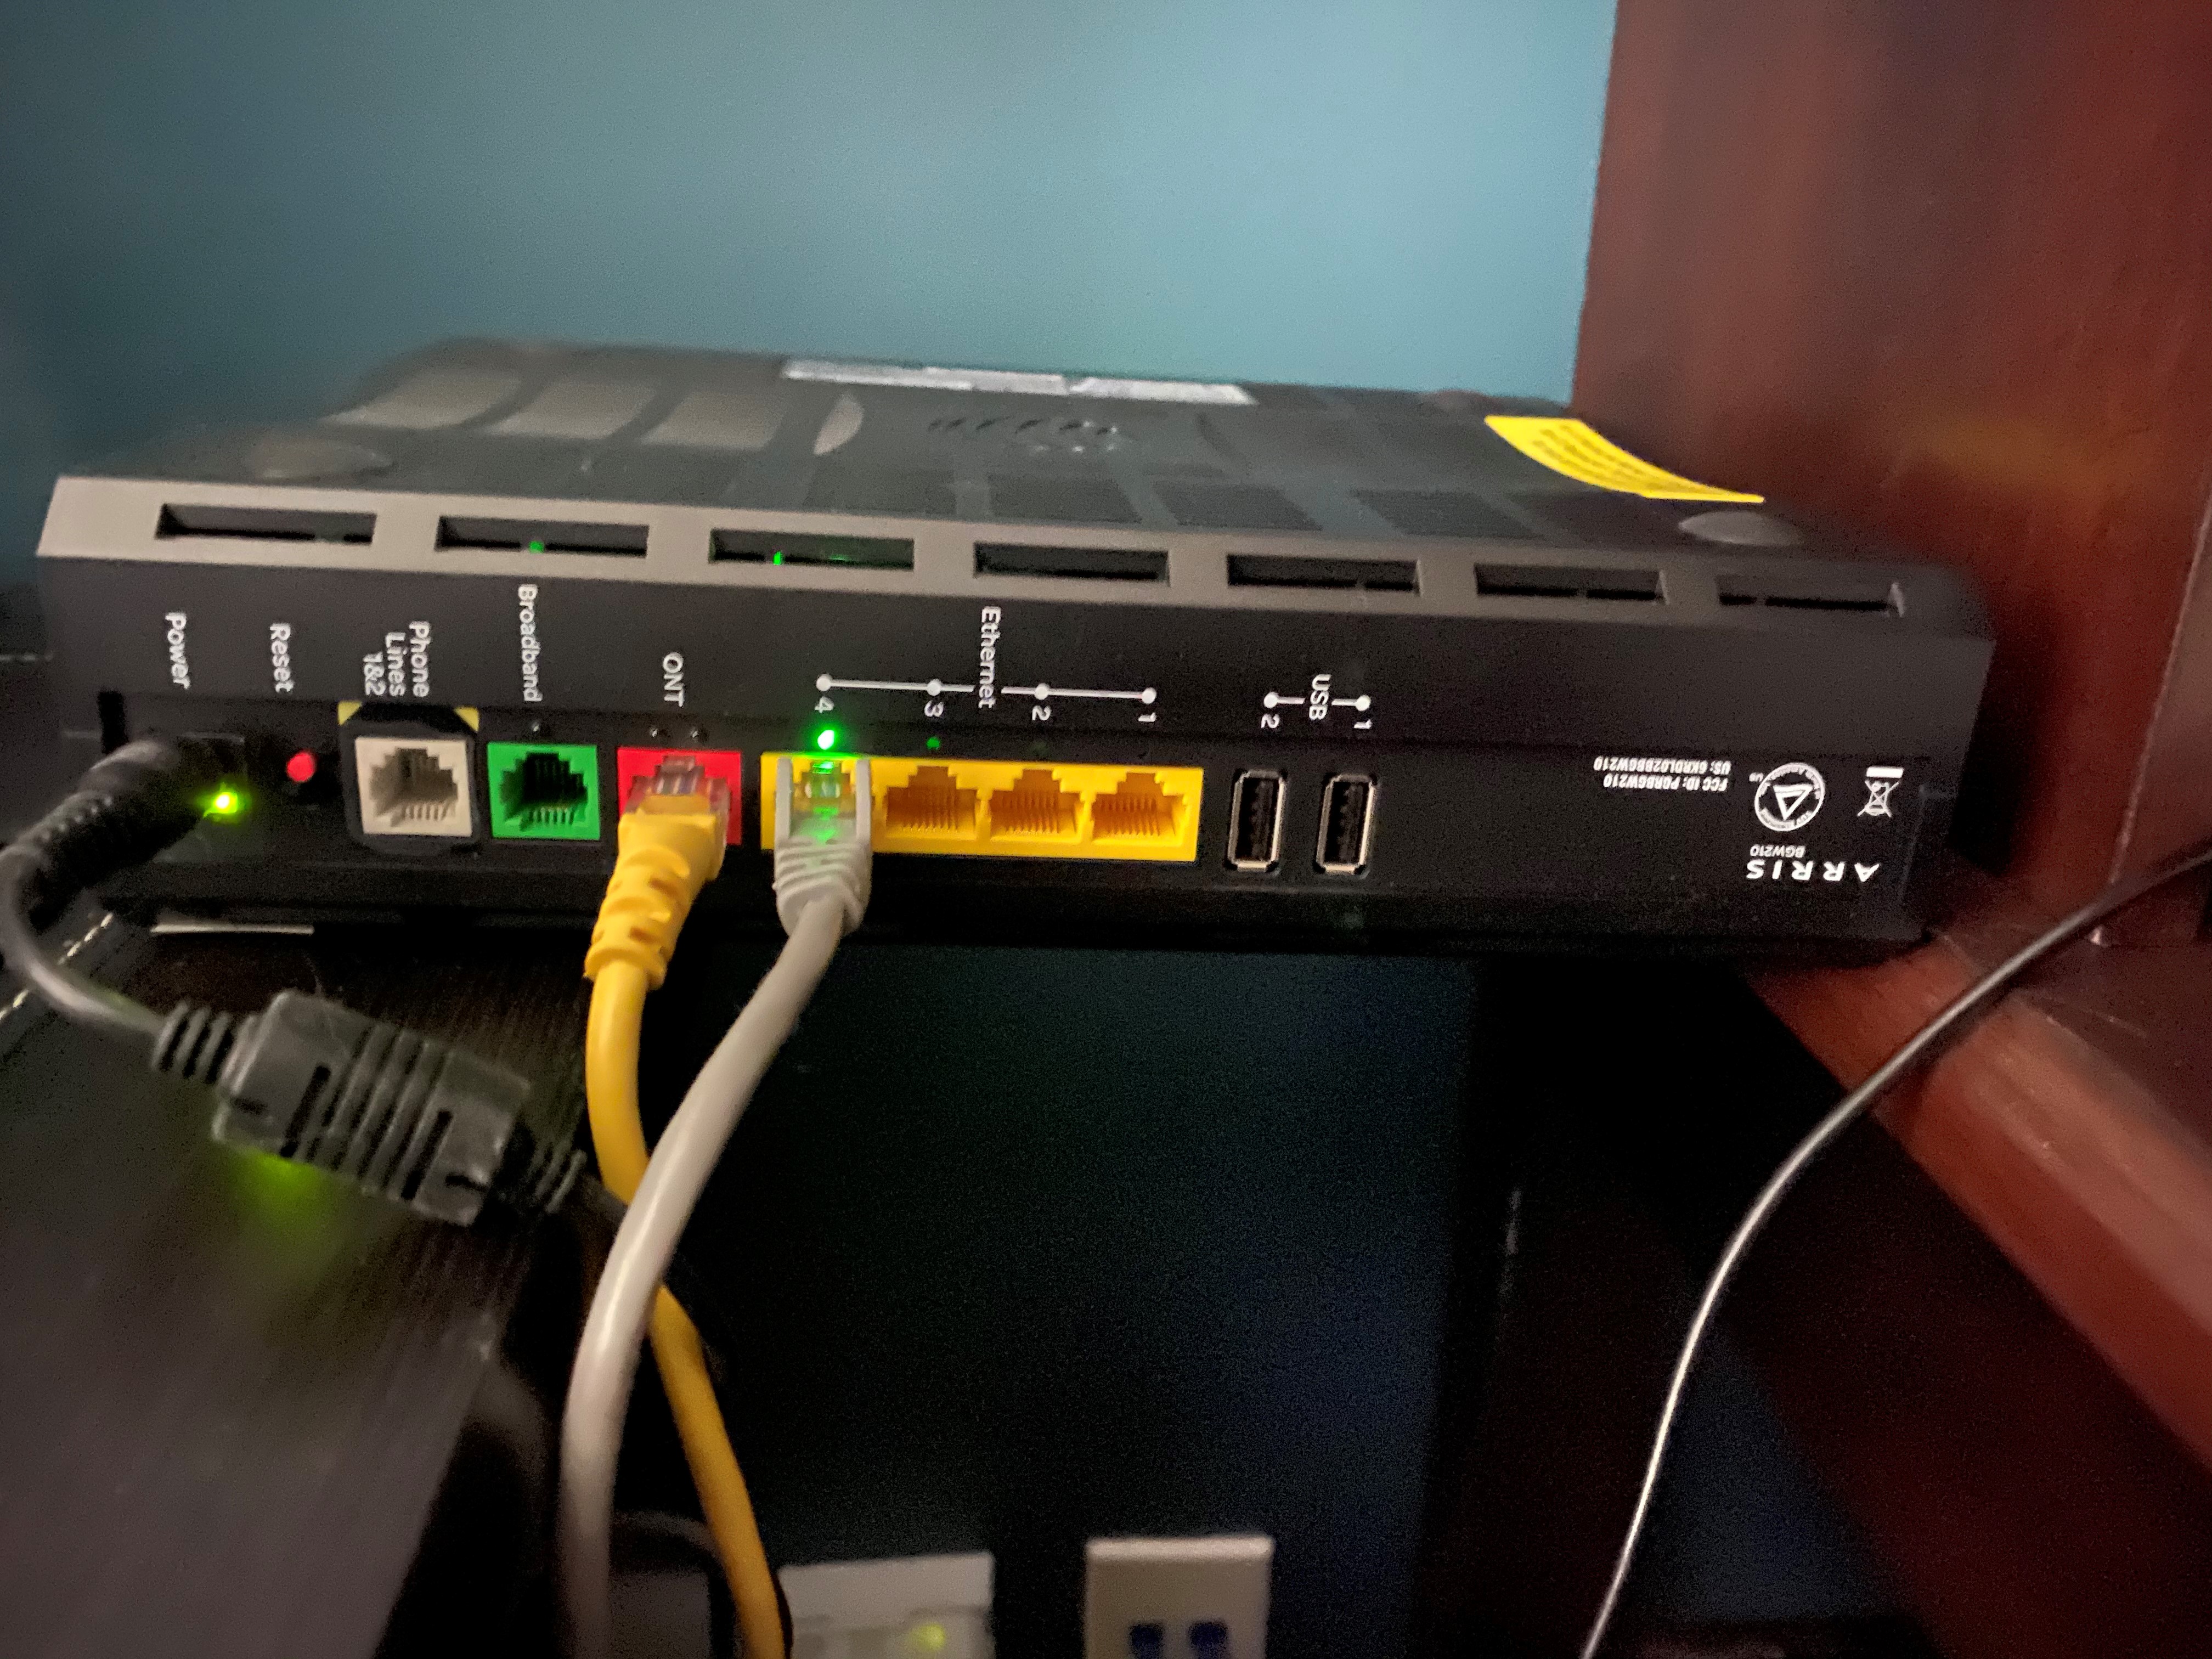
Cable from Modem/Router to Meraki

Connect the network cable to one of the open jacks on the back of your cable modem or router depending on your home network configuration.  This cable will be directly connected to your Meraki. 
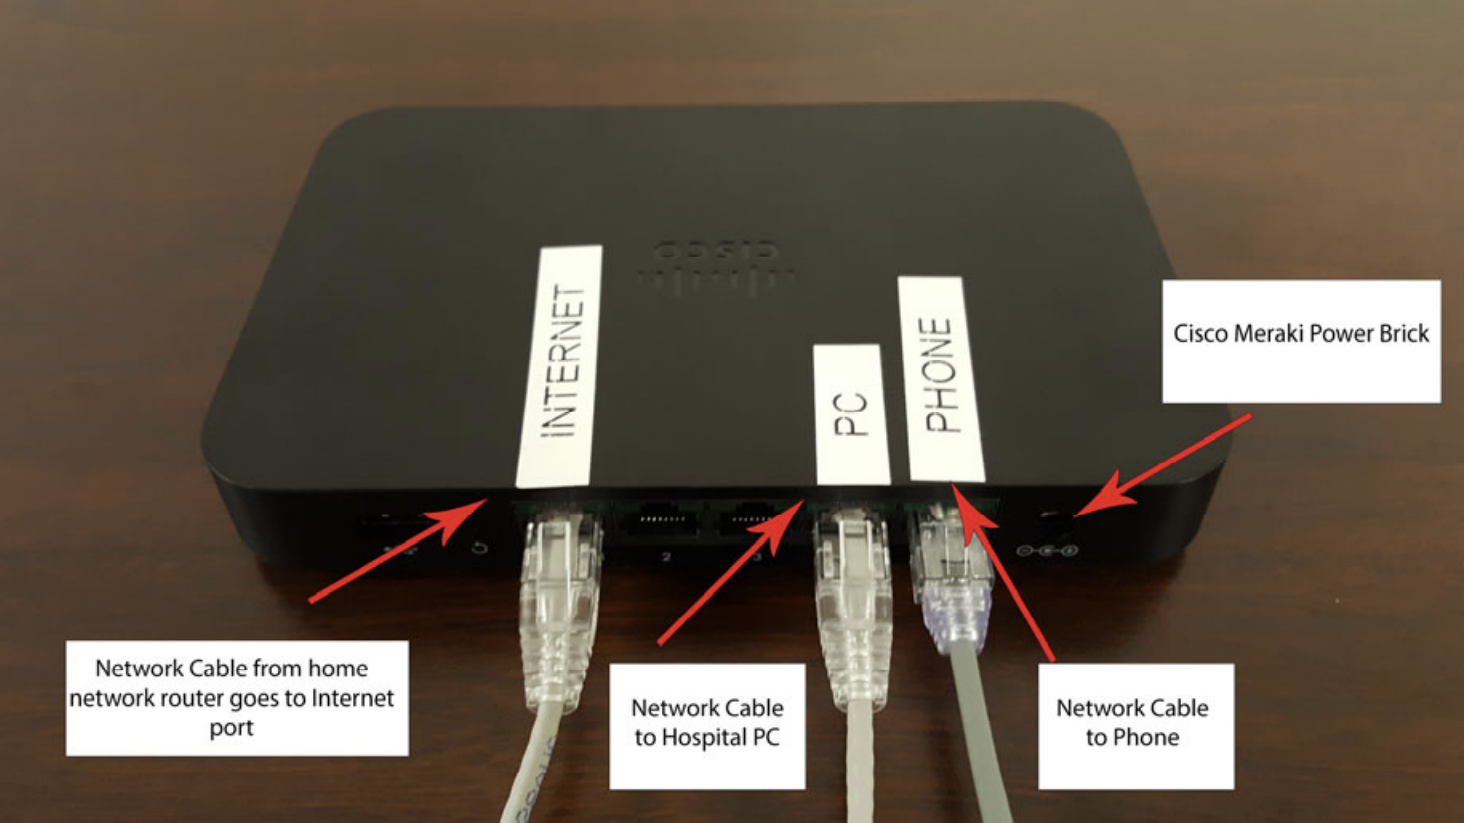
Meraki

Your Meraki may be labeled as shown above. Connect the cable from the Cable Modem or router directly to port #1 labeled Internet. The Meraki does not broadcast a WiFi signal. Therefore, it will need to be placed near where your computer will be located so that a network cable can be connected from the Meraki to the computer.

Next Step - Setup your phone and computer

Step 5